
Main Courses
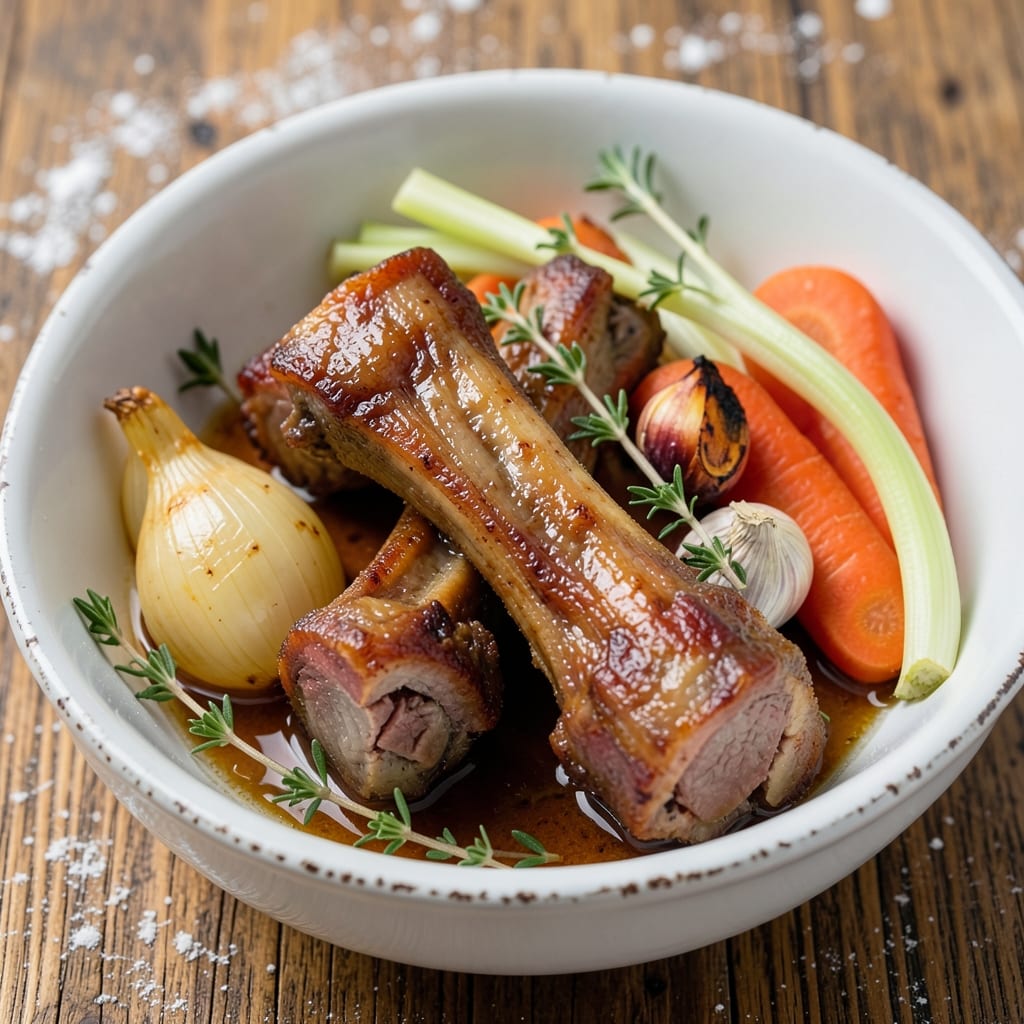
This boiled pork neck bones recipe unlocks the deep, savory foundation of countless soups and stews—where every simmer extracts layers of collagen-rich flavor. 💛 As a pitmaster who's spent years perfecting pork at The Smoky Pig, I know these bones transform tough cuts into liquid gold when given proper time and care. The secret lies in the slow extraction process, where bones release their marrow and gelatin into the broth, creating that unmistakable umami depth that elevates any dish.
What sets this method apart is the balance between time and technique—no shortcuts here. We start with a proper blanching to remove impurities, then simmer the bones just below boiling for hours, allowing the collagen to break down naturally. This isn't just about making broth; it's about building flavor that will carry through your entire meal. The result is a rich, velvety base that's perfect for everything from hearty stews to delicate consommé.
The finished product delivers a broth so concentrated with flavor that even a small amount transforms simple ingredients into something extraordinary. Think crispy pickled vegetables floating in this golden liquid, or tender rice absorbing every umami note. This is the kind of foundation that turns a weeknight dinner into a restaurant-quality experience—without the fuss of complicated techniques.
Whether you're preparing for a family gathering or stocking your freezer for winter, this method ensures you'll always have the perfect base. The bones themselves can even be repurposed for crispy cracklings or added to braised dishes. Let's get started on creating that flavor-packed broth that will become the heart of your kitchen.
Ingredients for boiled pork neck bones
Pork neck bones plus aromatic vegetables—simple ingredients for extraordinary umami-packed broth.
| Ingredient | Amount | Notes |
|---|---|---|
| Pork Neck Bones 🦴 | 2 lb | Raw, uncooked, marrow intact |
| Yellow Onions 🧅 | 1 whole | Quartered, skin on |
| Carrots 🥕 | 4 whole | Medium size, peeled |
| Celery Stalks 🌿 | 4 whole | Cut into 2-inch pieces |
| Garlic Cloves 🧄 | 6 cloves | Smashed, skin on |
| Fresh Thyme Sprigs 🌿 | 4 whole | Or 1 tbsp dried thyme |
| Fresh Parsley Sprigs 🌿 | 2 tbsp | Chopped, for finishing |
| Black Peppercorns 🌶️ | 1 tbsp | Whole, crushed |
| Bay Leaves 🍃 | 2 whole | Dried, standard size |
| Apple Cider Vinegar 🍎 | ½ cup | For initial blanching |
| Cold Water 💧 | 12 cups | For initial soaking |
| Salt 🧂 | 1 tbsp | Kosher or sea salt |
The bones are everything here. Look for pork neck bones with marrow—those little pockets of fat are pure flavor gold. Local butchers or Costco usually have them in bulk, which is perfect since you'll want 2 lbs for a rich base. If they're frozen, thaw them overnight in the fridge. Fresh bones smell clean and meaty, not sour or ammonia-like. The onions, carrots, and celery form your aromatic trifecta—don't skip peeling the carrots or celery, as their skins add earthy depth. I always grab the organic selection at Whole Foods for these veggies—they've got more natural sweetness to balance the pork's richness.
No fresh thyme? Dried works at half the amount, but fresh has that piney aroma that's worth hunting down. Short on parsley? Fresh cilantro or basil can substitute, though parsley's bright note is classic. The vinegar might seem odd, but it's non-negotiable for blanching—it removes impurities and sets up the broth's clarity. If you're making a big batch, double the veggies and bones—they'll keep for months frozen. And trust me on the black peppercorns—crushing them releases oils that infuse the broth with subtle heat. Pre-ground pepper just won't cut it here.
This broth gets better with time—3 days in the fridge or 3 months frozen. I always freeze it in 1-cup portions for easy use in recipes. To store, cool it completely first, then pour into containers leaving 1-inch headspace. The fat will solidify on top—just scoop it off before reheating. Need to use it fast? Strain it through a fine-mesh sieve, then reduce it on the stove to concentrate the flavor. That golden liquid is worth every minute of simmering—use it to braise meats, make risotto, or sip it straight with a spoonful of soy sauce.
Why You'll Love This Recipe
- I swear by this trick: just rough-chop the onions, carrots, and celery into big chunks—no julienne skills needed. The bones do all the work while you sip your coffee, and by the end, everything’s tender and infused with that deep, savory broth.
- Minimal Chopping Required: I swear by this trick: just rough-chop the onions, carrots, and celery into big chunks—no julienne skills needed. The bones do all the work while you sip your coffee, and by the end, everything’s tender and infused with that deep, savory broth.
- Rich Umami Bomb: That first bite? The pork neck bones melt into crispy-edged, gelatinous perfection, while the garlic and onions caramelize right into the broth. Honestly, I’ve never had a soup or stew where the flavor hits harder—it’s like a hug in a bowl.
- Meal Prep MVP: Between us, this is my secret weapon for busy weeks. Cook a big batch on Sunday, and you’ve got flavor-packed leftovers for tacos, fried rice, or even a quick ramen upgrade. (Yes, even on a Tuesday night.)
Step-by-step instructions for boiled pork neck bones
Here's how to transform simple ingredients into a rich, flavorful broth base.
🔥 Step 1: Blanch the Pork Neck Bones
Start by placing the 2 lb pork neck bones in a large stockpot. Add the 0.5 cup apple cider vinegar and cover with 4 cups cold water—just enough to submerge the bones completely. This acidic step helps remove impurities and extract maximum flavor from the bones.
Bring the liquid to a boil over medium-high heat, then immediately reduce to a gentle simmer. Skim off any foam or scum that rises to the surface using a fine-mesh skimmer or ladle. This step is crucial—it ensures your broth stays crystal clear and free of cloudiness. Simmer for 10 minutes, then drain the liquid and rinse the bones thoroughly under cold water. This removes any remaining impurities and prepares them for the flavor extraction phase.
🍳 Step 2: Build the Flavor Base
Return the rinsed pork neck bones to the now-empty stockpot. Add the 1 whole yellow onion (quartered, skin on), 4 whole carrots (peeled), 4 whole celery stalks (cut into 2-inch pieces), 6 cloves garlic (smashed, skin on), 4 whole fresh thyme sprigs, 1 tbsp black peppercorns, and 2 whole bay leaves. These aromatic vegetables form the flavor foundation of your broth.
Pour in the 12 cups cold water and add the 1 tbsp salt. Bring everything to a rolling boil over medium-high heat, then immediately reduce the heat to maintain a gentle simmer. You want to see small, consistent bubbles breaking the surface—this ensures even cooking without scorching. The broth should simmer uncovered to allow any impurities to rise and be skimmed off periodically.
⏰ Step 3: Simmer for Deep Flavor Extraction
Let the broth simmer gently for 3 to 4 hours. This long cooking time is essential—it breaks down collagen in the bones and connective tissue, transforming them into gelatin that gives your broth its signature richness and body. I know it's tempting to rush, but patience here makes all the difference.
After 2 hours, check the broth level and add 1 more cup of hot water if needed to keep the bones submerged. This prevents them from drying out and ensures even cooking. The broth should reduce slightly as it simmers, becoming more concentrated and flavorful. You'll know it's ready when the bones are tender enough to pull apart with a fork and the broth has a deep, meaty aroma.
🥘 Step 4: Strain and Finish
Once the pork neck bones are fork-tender, remove them from the broth using tongs and let them cool slightly. Strain the broth through a fine-mesh sieve or cheesecloth-lined colander into a clean pot or bowl. Discard the solids—your umami-rich broth is now complete.
Return the strained broth to the pot and stir in the 2 tbsp chopped fresh parsley sprigs. This adds a bright, fresh finish that cuts through the richness of the pork. Taste and adjust the seasoning with additional salt if needed. The broth should be deeply flavorful with a perfect balance of savory, sweet, and herbal notes. Let it cool slightly before using it as a base for soups, stews, or braising liquids.
Pro Tips For Making Boiled Pork Neck Bones
- PARBOIL BONES FIRST: Skip the raw plunge—give those pork neck bones a 10-minute head start in boiling water before adding everything else. This loosens the collagen and prevents them from toughening up later. (I learned this the hard way after serving rubbery bones to my family.)
- CHOP ONIONS COARSELY: Tiny onion pieces disappear into mush—go for ½-inch chunks so they stay intact and flavor the broth properly. Same goes for carrots and celery: bigger pieces mean more texture, less sludge. (Yes, even if you’re impatient like me.)
- DON’T SKIP THE SKIM: After the first 20 minutes, skim off the foam rising to the top—it’s where impurities and fat gather. If you ignore it, your broth will turn cloudy and greasy. (Your future self will thank you.)
- USE A LOT OF GARLIC: Three cloves aren’t enough—crush at least six for real depth. Slice them thin or smash them with the flat of your knife so the oils infuse the broth. (I was skeptical until I tried it.)
Dietary considerations for these flavors
Gluten-Free Adaptations
This broth is naturally gluten-free as long as you avoid cross-contamination. Use a clean stockpot and utensils if you also handle gluten-containing ingredients in your kitchen. The pork neck bones and vegetables provide all the flavor without any gluten sources. For extra safety, I recommend using certified gluten-free apple cider vinegar like Bragg or Annie's to prevent any accidental exposure. 🌾
Low-Carb Considerations
If you're following a low-carb or keto diet, this recipe is perfect for you. The broth itself is completely carb-free, and you can easily adjust the vegetable additions. Skip the carrots and celery if needed—the onions and garlic still provide plenty of flavor. For a richer base, consider adding 1 tbsp of coconut aminos instead of salt to boost umami without carbs. The pork neck bones alone deliver 20g of protein per serving with minimal fat.
Dairy-Free & Vegan Options
While this recipe is meat-based, you can create a similar umami-rich broth using mushroom stems and kombu seaweed instead of pork. For a dairy-free version, simply omit any dairy products and ensure your salt is dairy-free. I've made a vegan version using shiitake mushroom stems and kelp powder—it delivers the same depth of flavor without animal products. The key is using 1 tbsp of soy sauce or tamari for that savory punch.
Allergen Awareness
This recipe contains pork and celery, which are common allergens. Always check with your butcher about the source of the pork neck bones to ensure they're free from cross-contamination with other allergens. For those with celery allergies, simply omit the celery stalks—the onions, carrots, and garlic will still create a flavorful base. If you're making this for someone with a pork allergy, substitute the bones with chicken or turkey bones instead.
Pescatarian Substitutions
For a pescatarian version, replace the pork neck bones with fish heads or salmon bones—they create an equally rich broth with a different flavor profile. Use 1 lb of fish heads and reduce the simmering time to 1.5 to 2 hours to avoid overcooking. Add 1 tbsp of fish sauce to enhance the umami depth. The resulting broth is perfect for seafood soups or as a base for Asian-inspired dishes. 🐟
Nutrition facts
Frequently asked questions
Can I use pork neck bones with meat still attached?
Yes, but trim as much meat as possible before boiling—it can make the broth cloudy. For the clearest broth, remove all visible meat and fat. If you love crispy pork cracklings, save those trimmings for frying separately. The bones themselves should be clean with just a little connective tissue remaining.
How long should I simmer the bones for maximum flavor?
For deep umami, simmer uncovered for 4-5 hours at a gentle bubble. This breaks down collagen into gelatin, creating that signature rich texture. If you're short on time, 3 hours still works but won't be as concentrated. The longer you simmer, the more flavor you extract—just keep the water level topped off.
What can I do with leftover pork neck bones after making broth?
Don't toss them! Crisp them in the oven at 400°F for 20-25 minutes with salt and spices for pork cracklings. You can also shred the remaining meat for tacos, or add them back to braised dishes for extra depth. The bones become brittle and perfect for garnishing soups too.
Why does my broth smell strong but taste bland?
This usually means the bones weren't blanched properly or simmered too vigorously. Always start with a vinegar rinse and maintain a gentle simmer. For extra flavor, add 1 tbsp soy sauce or 1 tsp fish sauce at the end. The aroma should be rich but not overpowering—think "savory campfire" rather than "garbage disposal."
Can I make this broth in a slow cooker?
Use the same ingredients but increase simmer time to 8-10 hours on low. The slow cooker's gentle heat works perfectly for collagen extraction. Just